Folders are used to help organise the Media section and to manage similar items in a logical structure.
In this section, we will be showing you how to manage folders within the Media > Guideline display visuals folder, which contains all the display visuals that appear throughout general guideline pages. These are generally low resolution images used to clarify guidelines content and displayed as examples for information provided on the page.
If, however, you are looking to manage Photo or Asset library folder structures, click the following links instead:
Guidelines display visuals folder structure
You can see in the visual below that the Guidelines display visuals folder structure mimics the web structure of the frontend site. This ensures it is easy to find and manage images associated with guidelines content. It’s best practice to keep to this folder structure strategy and not to upload images randomly to the Media section.

Creating a generic Folder
In the Media tree view, hover over the Guideline display visuals page name (or any folder within), click on the options icon (•••) and click the Folder option in the Create menu.

Enter a name for the folder and click Save.

The new folder is now a sub folder (or ‘child’ node) of the Guidelines display visuals folder. You can continue to create sub folders under other folders, as there is no limit to how many levels deep you go. However, as you are attempting to mimic the frontend, try to keep a similar structure.
Example
If you want to include a new folder at the same level as the Brandmark and Colour palette folders (shown below), hover over the parent folder’s page name, Visual identity, click on the options icon (•••) and click the Folder option in the Create menu.

The new folder will now be a child of the Visual identity folder.
Deleting a folder
If you wish to tidy up the Media section of your site, you can easily delete existing folders. Once you have deleted a folder, it is sent to the Recycle Bin. If you change your mind, you can restore the deleted page from the Recycle Bin^^.
- Right-click the folder you want to delete and select Delete from the actions menu.
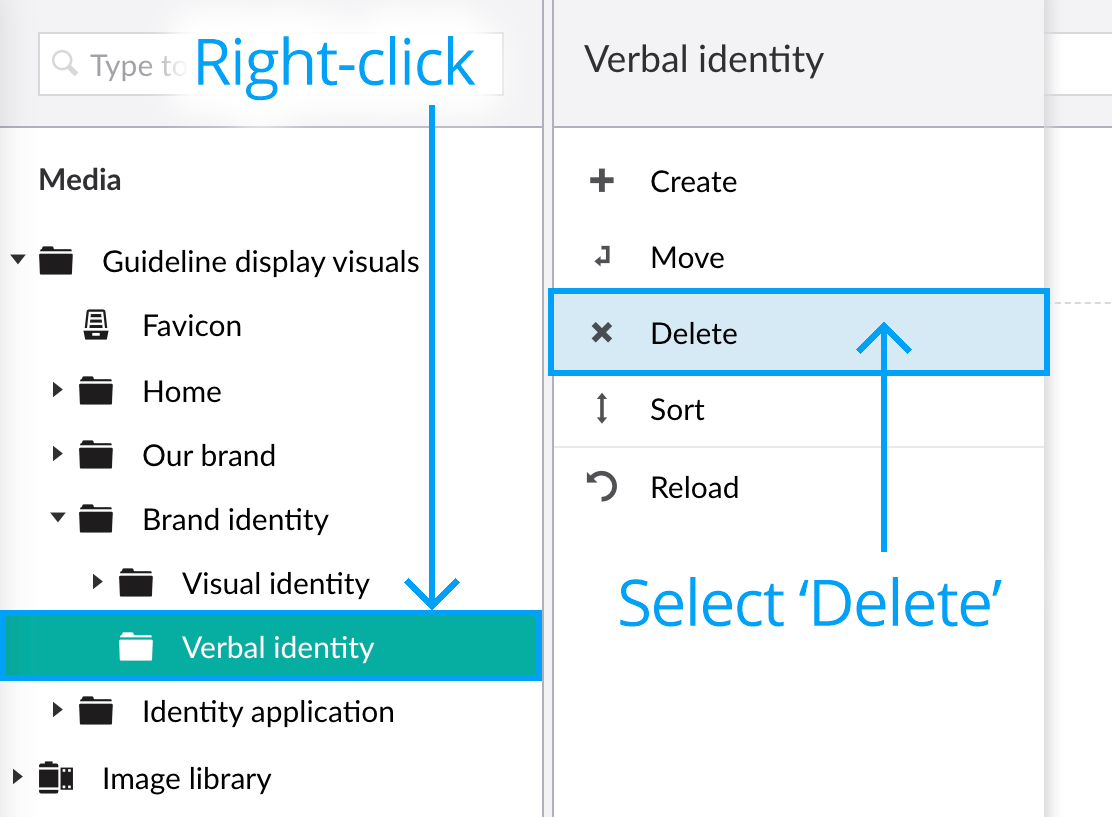
- Click OK to confirm deletion of the page or click Cancel to cancel deletion.
Note that the contents of the folder are also moved to the Recycle Bin. You can restore items from the recycle bin in the same way you can in the Content section.
^^ Note: Recycle Bin items are automatically deleted after 30 days.
Moving a folder
You can easily move folders within the Media section using the Move function.
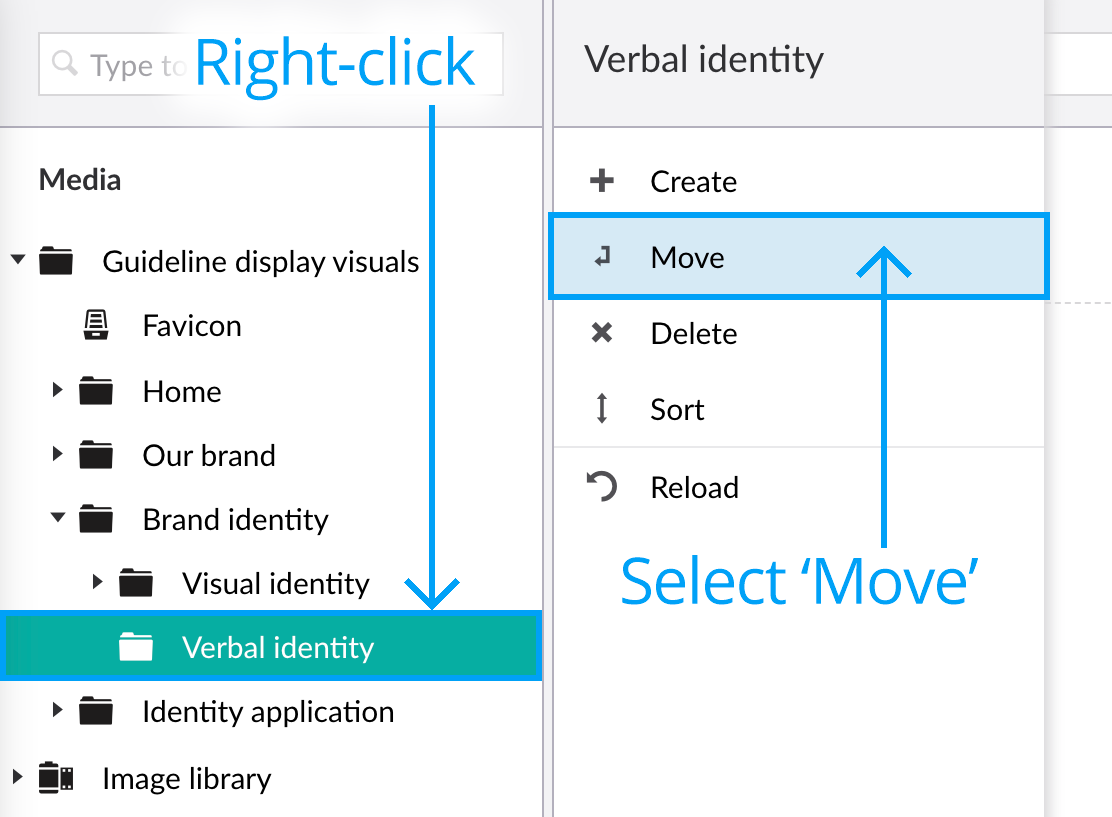
- Right-click the folder you want to move and click Move from the actions menu.
- Select the folder where you want to move the item into. In the example below, we want to move the folder within the ‘Our brand’ folder, so we select the ‘Our brand’ folder.
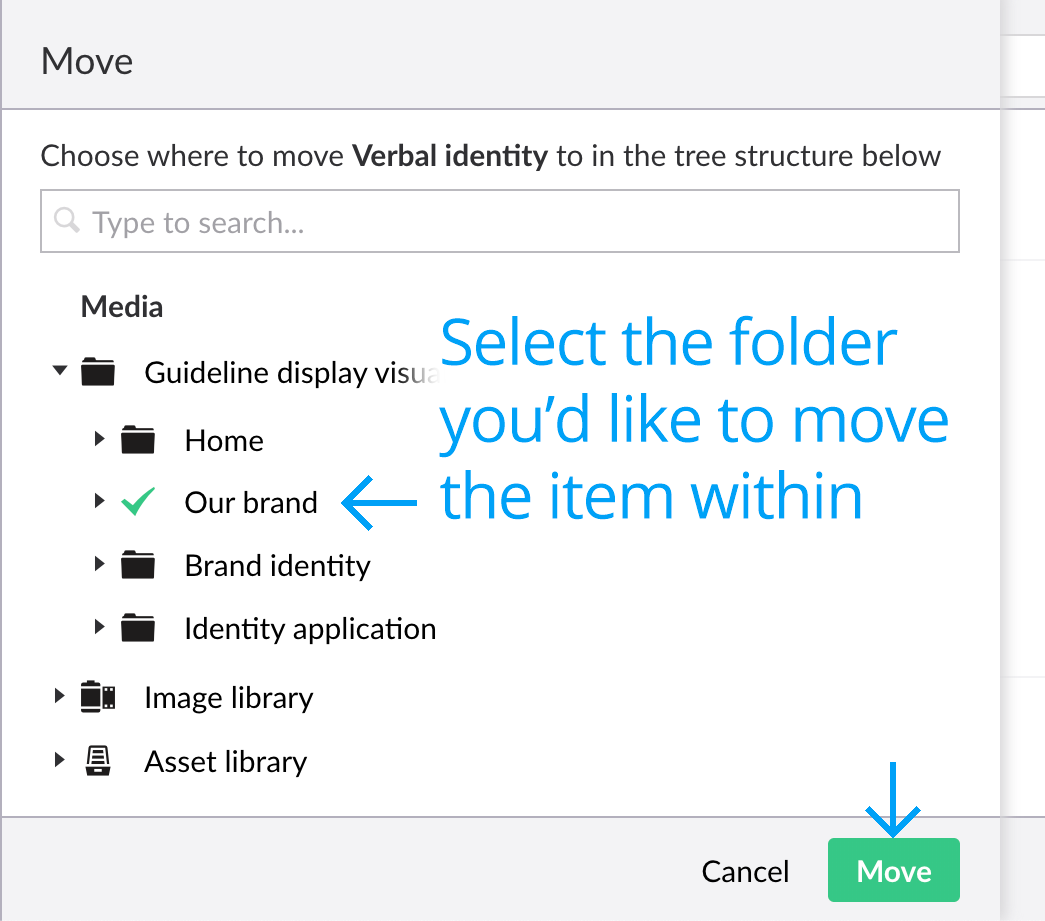
- Click Move to confirm.
Sorting the contents of a folder
Media items in Brand Toolbox are ordered (sorted) chronologically in the tree structure. It is common for new items to be placed at the bottom of the tree structure. However, you can easily change the sort order of the items in a folder by using the Sort function.
- Right-click the folder to sort and click Sort from the actions menu.
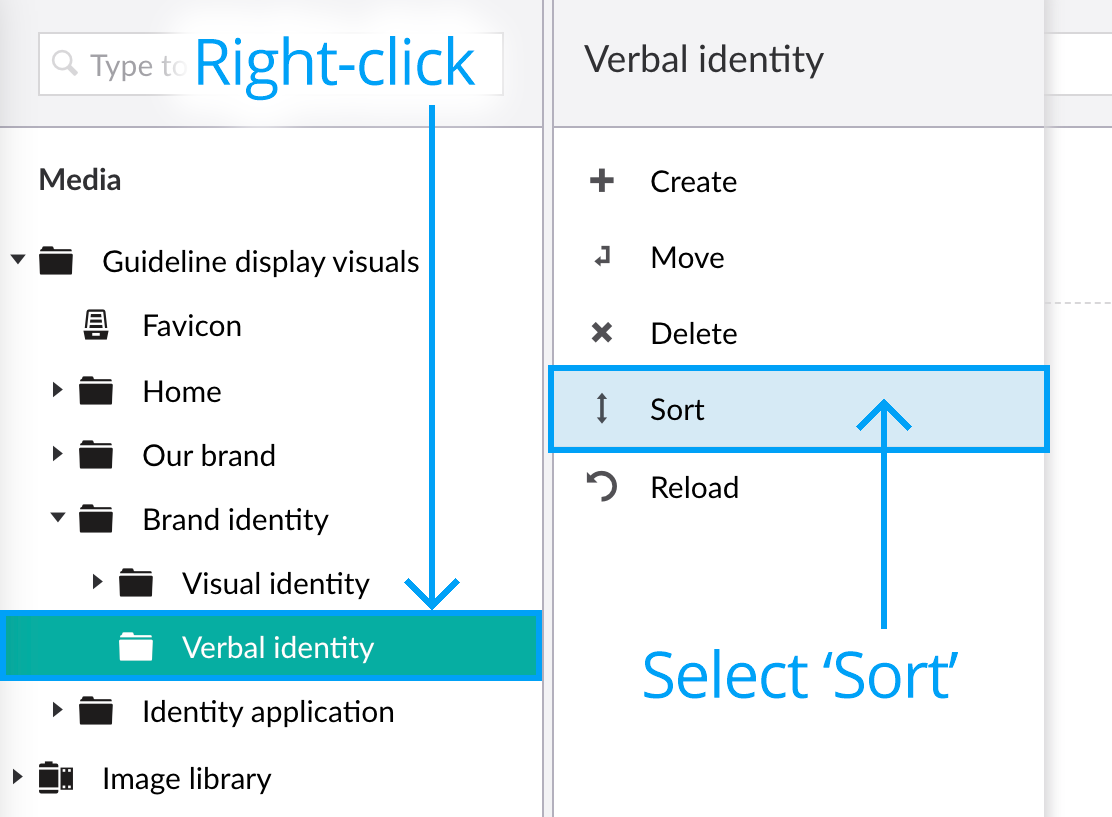
- In the Sort slide out panel, drag the folders, images and/or files into the required order. Alternatively, click on the Name, Creation date or Sort order column headers to sort the entire collection of items. Clicking the column header again reverses the sort order.

- Click Save.
Next page: Working with Images and Files
Back to top