The home page tile links are the first visuals the user sees when entering the home page so it is important the links are relevant to the key pages of the site.
The examples below are typical of a standard brand guidelines installation.

To customise the home page tiles, follow these steps:
- Select the Home page (node) from the Content section pane.
- Navigate to the Library/Guidelines links tab.
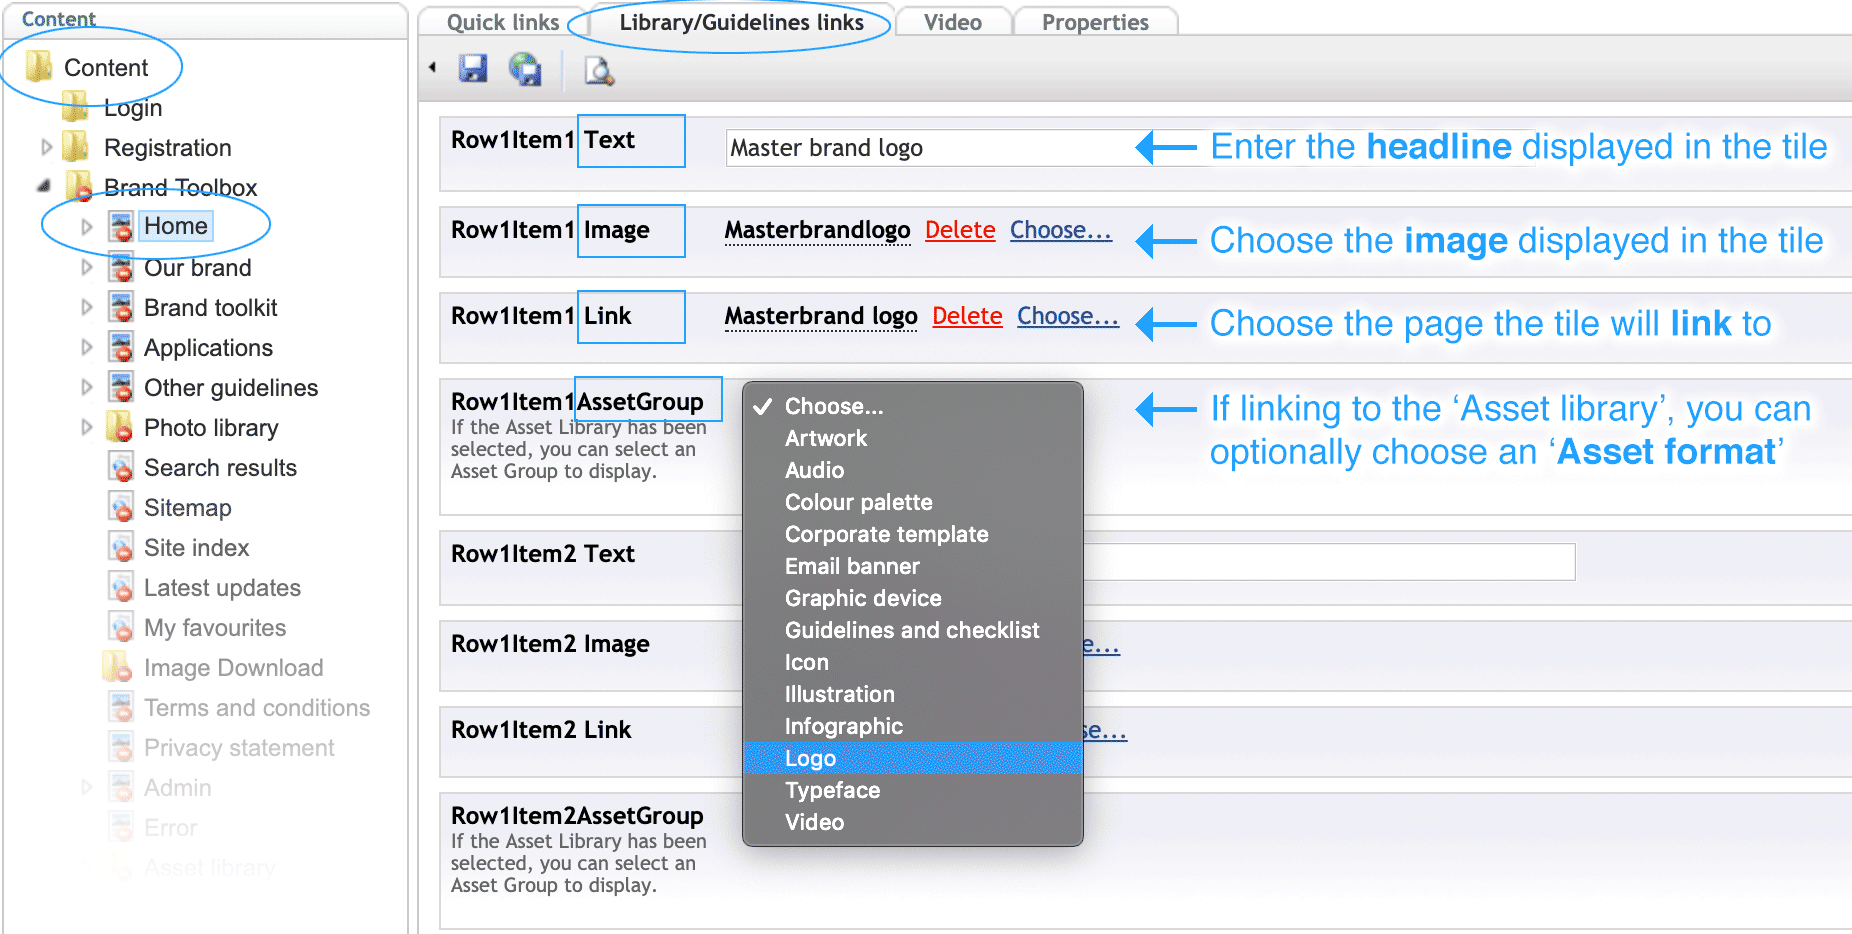
- You will see a list of editable items marked Row1Item1 through to Row2Item4. These correspond to the tiles on the home page (Row 1 indicating the top row of tiles, and Row 2 indicating the bottom row — from left to right). Each tile has 3 or 4 editable items:
- “Row#Item# Text” contains the headline that appears within the tile.
- “Row#Item# Image” references the image used within the tile.
- “Row#Item# Link” references the page that the tile will link to.
- “Row#Item# Asset Group” is optional. If the Asset Library has been selected in the “Link” above, you may optionally select an Asset Group to display. For example, you may use it to filter the Asset library to show ‘Icons’ only. This is handy if you want to create a link direct to the ‘Icons library’.
- Enter a headline in the text field next to the element marked “Text”. This headline will appear in the tile.
- Click “Choose...” next to the element marked “Image” to select an image to sit within the tile. The images currently appear in the following folder within the Media section (and must be no larger than 102 x 70px @ 72dpi and saved as a transparent PNG-24):
~/Media/Guideline display visuals/Home/Guidelines links
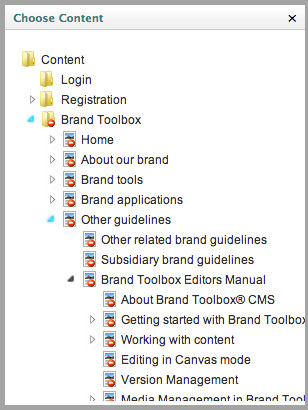
- Click “Choose...” next to the element marked “Link” to select the page the tile will link to. On selection, the link and the title of the page will change.^
- If the Asset Library has been selected in the “Link” above, you may optionally select an Asset Group/Format to display. For example, you may use it to filter the Asset library to show ‘Icons’ only. This is handy if you want to create a link direct to an ‘Icon library’. Click “Choose...” next to the element marked “AssetGroup” to filter the Asset Library to the Asset Group/Format you select.
- Once you have made your selections, remember to click Save and publish to make the changes visible on the home page.
Note: Tile background colours cannot be changed via the Brand Toolbox CMS. They will need to be changed by the Brand Toolbox development team, upon request.
^ To hide a tile, simply clear/delete the current selection on the property marked “Link”.
Updated: 15 August 2019
Next page: Examples
Back to top