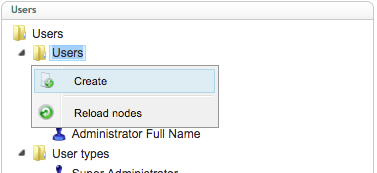
To add a new user, simply right-click the 2nd ‘Users’ node and select ‘Create’ from the actions menu.
Type in the full name of the new user and click the ‘Create’ button.
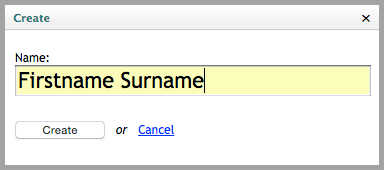
Note: For consistency, use ‘Firstname’ followed by ‘Surname’. This will make it easier to find users when the list grows larger.
The following information will appear in the right-hand pane:
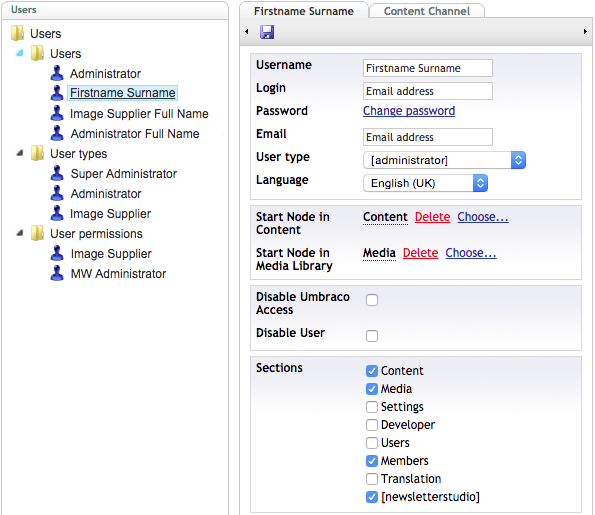
Now input the following information into each of the fields:
- Username: Leave as is (should be Firstname Surname)
- Login: Enter user’s email address
- Password: Create unique password
- Email: Re-enter user’s email address
- User type: Select the user type (will vary on your particular instance)
- Language: Leave as is (ie. English UK)
---
Start Node in Content:
- For Super Administrator* and Administrator*, select ‘Content’ from the ‘Choose...’ link.
- For Image Supplier*, select ‘Image library’ from the ‘Choose...’ link.
Start Node in Media Library:
- For Super Administrator* and Administrator*, select ‘Media’ from the ‘Choose...’ link.
- For Image Supplier*, select ‘BT Image library’ from the ‘Choose...’ link.
*Note that User types will vary on your particular instance.
---
Disable Umbraco: Leave unchecked (If checked, this prevents user from entering the backend).
Disable User: Leave unchecked (If checked, this shows the user’s name as disabled in the node tree). Note that users cannot be deleted, otherwise the audit trail of previous changes will be deleted. If a user leaves the business, simply check this box to disable the user.
---
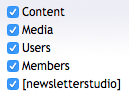
Sections: Depending on the ‘User type’, the following should be checked (however this can vary depending on the privileges you wish to give users):
| Super Administrator | Administrator | Image Supplier |
 |
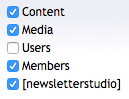 |
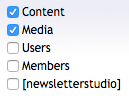 |
Now click ‘Save’.
Next page: Disabling a user
Back to top