Brand Toolbox allows you to upload your files individually or save time and upload in batches, using the “Drag-n-Drop” Batch Uploader.
On this page:
—
Grouping assets
If you have a group of files that you would like to combine and display together in the same Assets Folder, you can save time by using the Asset Library “Drag-n-Drop” Batch Uploader.
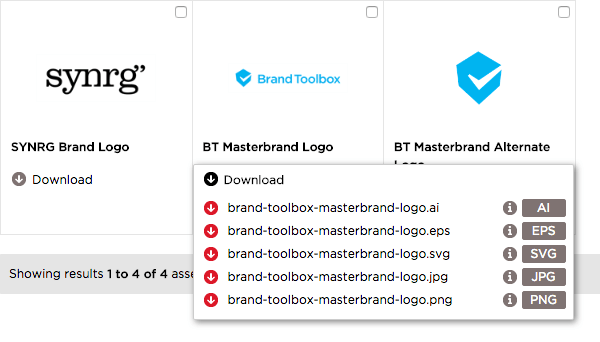
For example, you might have a logo which has multiple file formats:
- brand-toolbox-masterbrand-logo.ai
- brand-toolbox-masterbrand-logo.eps
- brand-toolbox-masterbrand-logo.svg
- brand-toolbox-masterbrand-logo.jpg
- brand-toolbox-masterbrand-logo.png
You can drag ‘n’ drop all of those files, and upload them together into the same Assets Folder, and Brand Toolbox will create an Asset and Asset Version for each of the files uploaded.
You can publish these Assets upon upload, allowing them to display immediately in the Asset Library together, grouping the Assets within the Assets Folder. E.g.

The Asset Library Batch Uploader should always be used per the instructions below:
Batch uploading multiple files
- In the Media > Asset library folder, select the folder where you would like to upload your files.
- In the right hand edit pane, under the Contents tab, click the Upload... icon. The ‘Drag files here to upload’ dialog box will appear.
- Add files by clicking the ‘Choose Files’ button or simply drag ‘n’ drop multiple files from your desktop onto the upload dialog box. Batch uploading automatically creates an Asset and Asset Version.

The following table describes each of the different Batch Values and how they function on upload. Note that entering data in the fields will overwrite any existing data.
| Batch Values | Description |
|
Member permissions |
Select individual or multiple member groups to be assigned to the asset. |
|
Brand |
Select the “Brand / Sub-brand” associated with these assets. |
|
File Format |
Select the “File Format” associated with these assets, e.g. Logo, Video, Illustration etc. |
|
Keywords |
Separate, keywords, and phrases, by, comma. |
|
Comments |
Multi-line text field. |
|
Upload |
Uploads the files added to the Batch Uploader, creating an Asset and Asset Version for each uploaded file. |
|
Publish assets? |
Checking this box immediately publishes the assets and makes them available in the Asset library frontend – for viewing and download. |
|
Cancel All |
Closes the dialog box and removes the files added to the Batch Uploader. |
|
Close |
Closes the dialog box but keeps a record of the files added to the Batch Uploader. Added files will appear next time the Batch Uploader is accessed. |
File Format and preview images
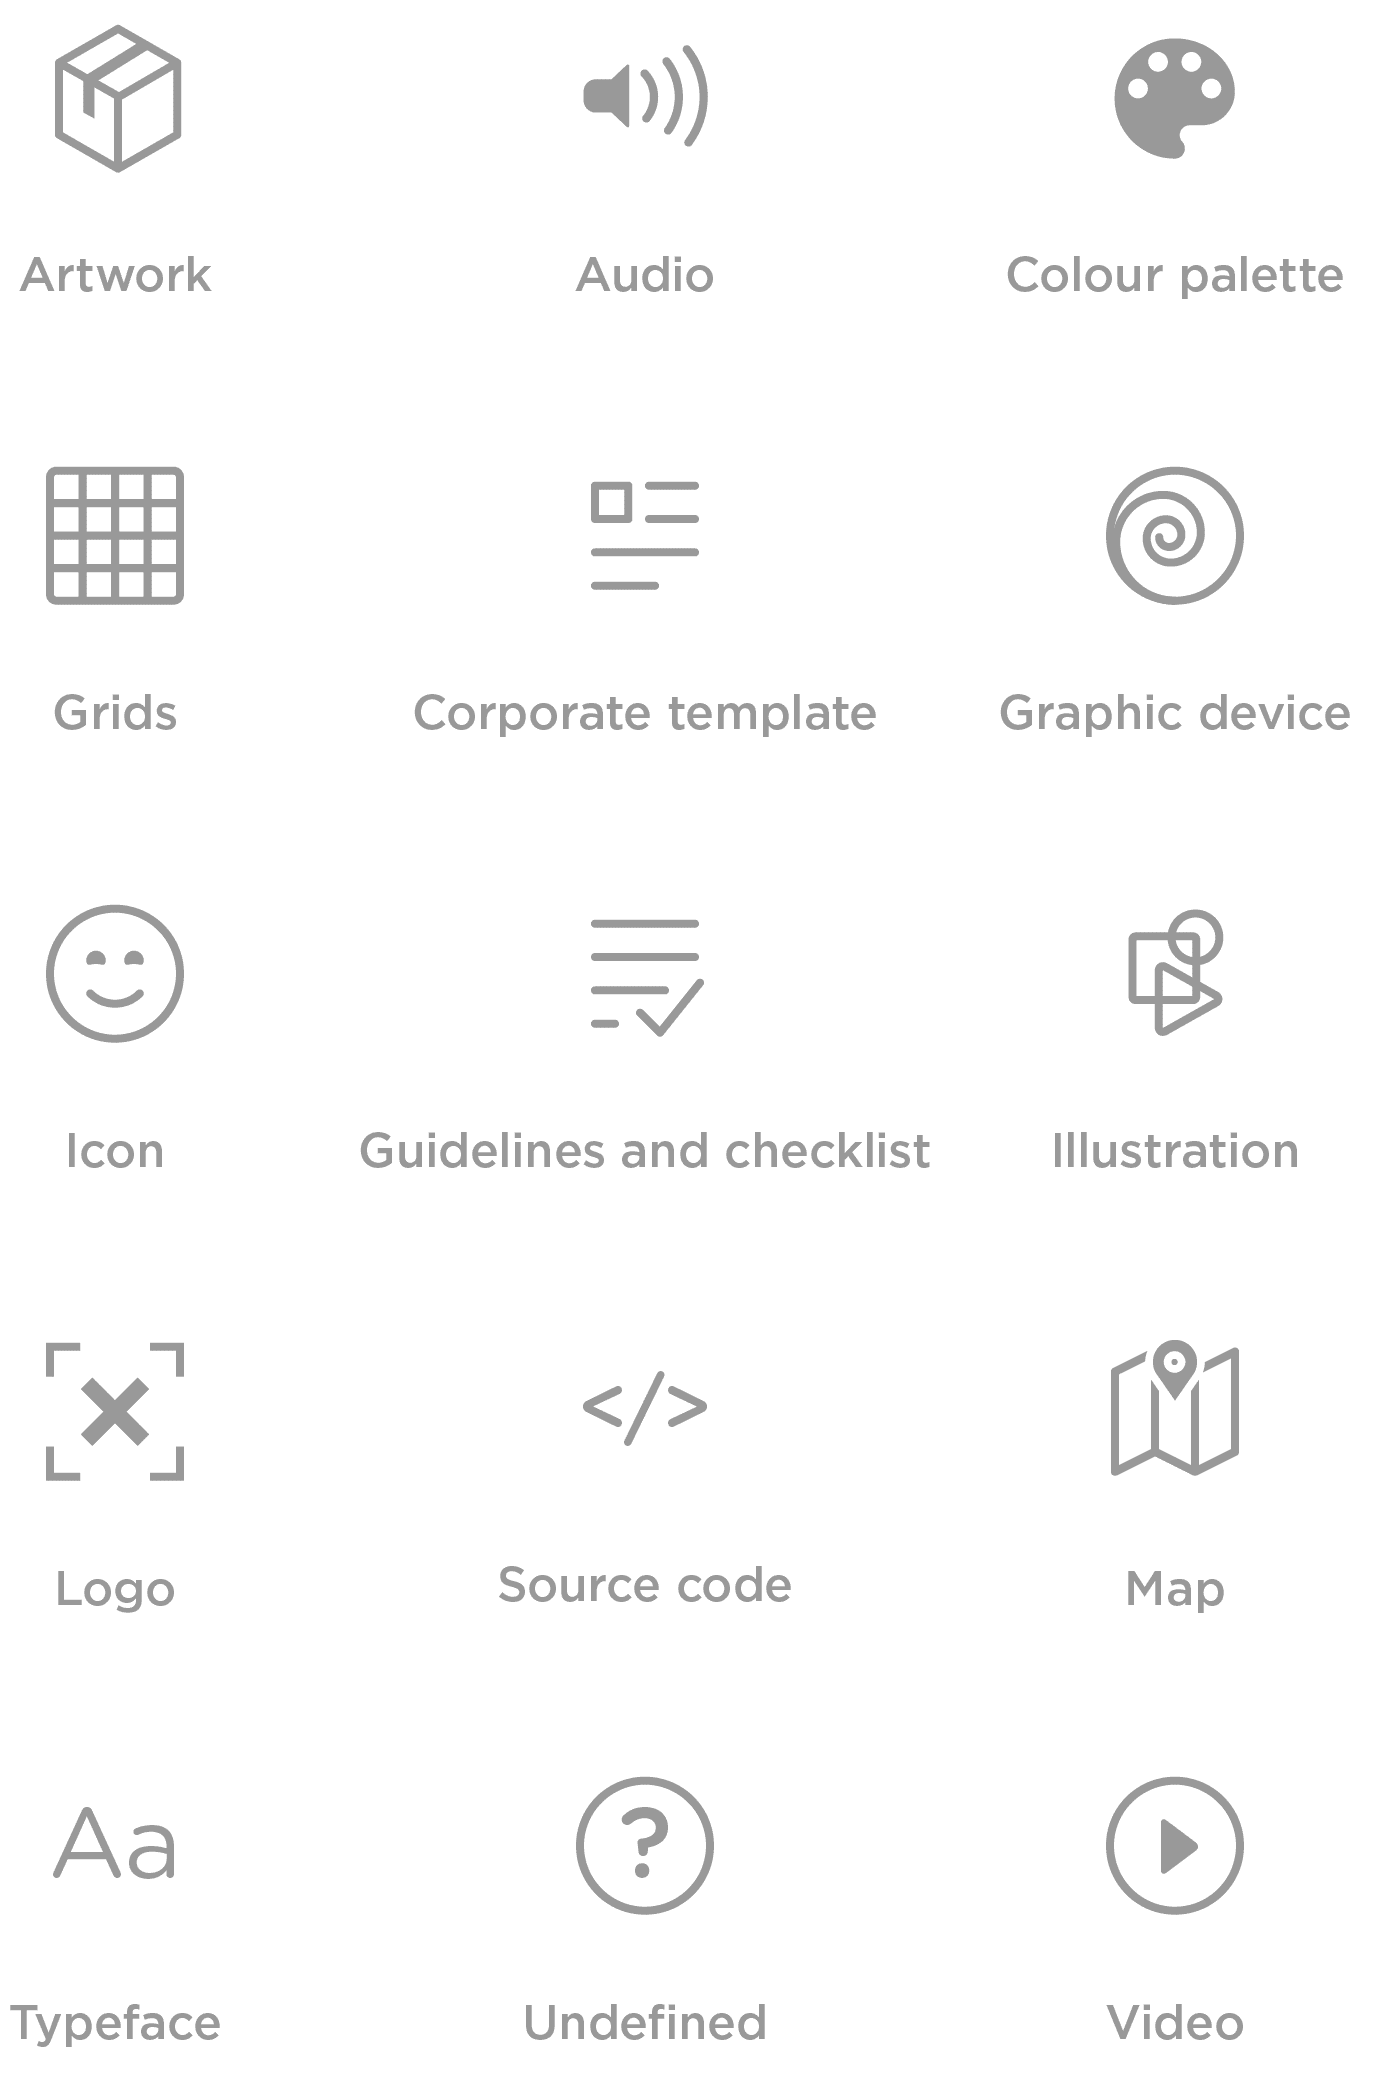
When you batch upload files, using the “Asset Batch Uploader”, and select a File Format, e.g. Logo, Video, Illustration, etc. Brand Toolbox will assign a “default” preview image to the created Asset Version.
However, if the file uploaded is a JPG or PNG, then that file is used for both the Version File (file available for download), and the Preview image.
The following is an example of the “default” preview images:

Last updated: 16 November 2017
Next page: Create an Asset
Back to top